In this tutorial, I will work you through how to upload SVG files to your WordPress site.
Since WordPress doesn’t include support for SVGs out of the box, you’ll have to work a little harder to include them on your website. In the next few steps, we’ll go over how to add SVG files to your website with a plugin and via a manual process.
Use a Pluging ( SVG Support )
As with many WordPress tasks, plugins can make enabling SVG support simple. All you have to do is pick the right tool and configure a few settings.
- Download the Plugin : First, you’ll need to download and install an SVG plugin. We recommend SVG support:
Installing the plugin:

Activating the plugin:

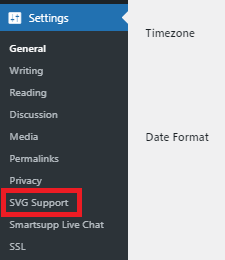
Once you’ve installed and activated the plugin, you’ll have a new menu option in your WordPress dashboard under Settings > SVG Support. There, you will receive step by step instructions on how to style SVG files for your website:

Additionally, you’ll be able to configure a few important administrative settings. This includes restricting SVG uploading privileges to administrators only:
After that, you’ll be able to upload SVG files directly to your Media Library. However, there are a few other important items to take care of first.
Step 2: Enable GZip support of SVG Files on Your Server
How you approach this step will depend on your web host and server setup. For example, you must have, GZip already enabled for a specific list of file types. With that being said, “image/svg+xml” should be part of the file types.
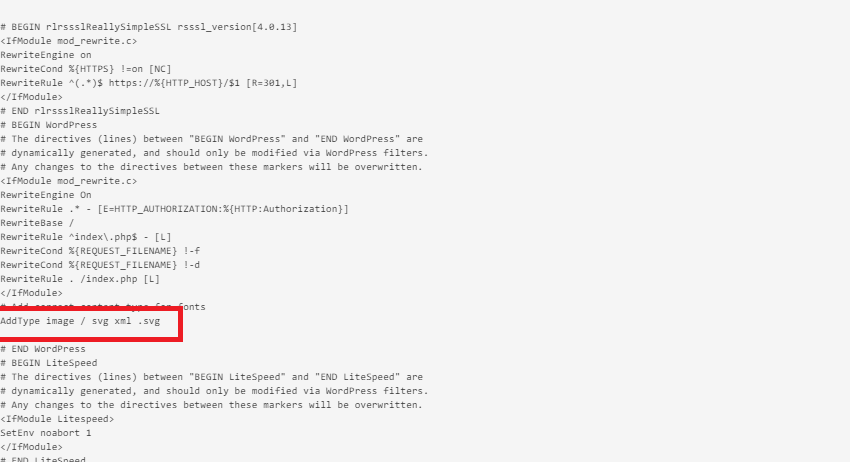
Adding this type to the list for your website will ensure that your SVG files are optimized appropriately and quickly. However, if “image/svg+xml” is not part of the GZip, You’ll need to include this file type in your .htaccess file, in order for everything to run smoothly.

Step 3: Ensure That the Plugin Is Correctly Securing Files
One of the downsides to using SVG files, and the primary reason this file type has not yet been incorporated into WordPress core, is due to security issues. Since SVG files are XML-based, they are vulnerable to External Entity attacks, among other risks.
When you configure your SVG plugin, it’s recommended that you limit SVG upload access to administrators only. However, an even more secure approach is to ‘sanitize’ your SVG files before you upload them. This eliminates any of the unnecessary XML code that might leave your site open to attacks.
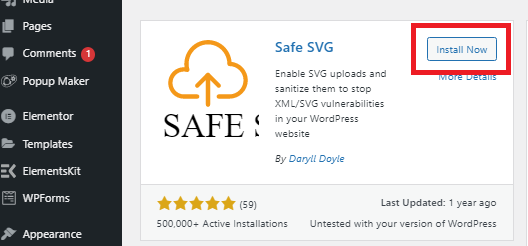
The SVG Support plugin does not include automatic sanitization, but there are other plugins that do. Safe SVG is one of them: Alternatively, you can also install your own sanitizer and use it independently.
To install Safe SVG, navigate to the Plugin Option on the Wp-Admin Dashboard => Click Add New => Search Safe SVG from the search bar => Click Install

The creator of Safe SVG has provided the plugin’s sanitizer code on GitHub, for anyone to use. Having your own sanitizer in place is also a good option if you plan to use the next method for enabling SVGs on your WordPress website.
Upload your SVG File:
Go to your media folder from the dashboard => Click “ADD NEW” button =>an option to select file from location will be displayed

Select the svg file to upload, then you are good to go.

Check your Media folder for the uploaded SVG.

We hope this article helped you learn how to upload SVG files in WordPress. You may also want to see our guide on how to remove background images from a given image to have a transparent design.


